No-Bake Rainbow Cheesecake Bars
Highlighted under: No Cook | Raw & Fresh
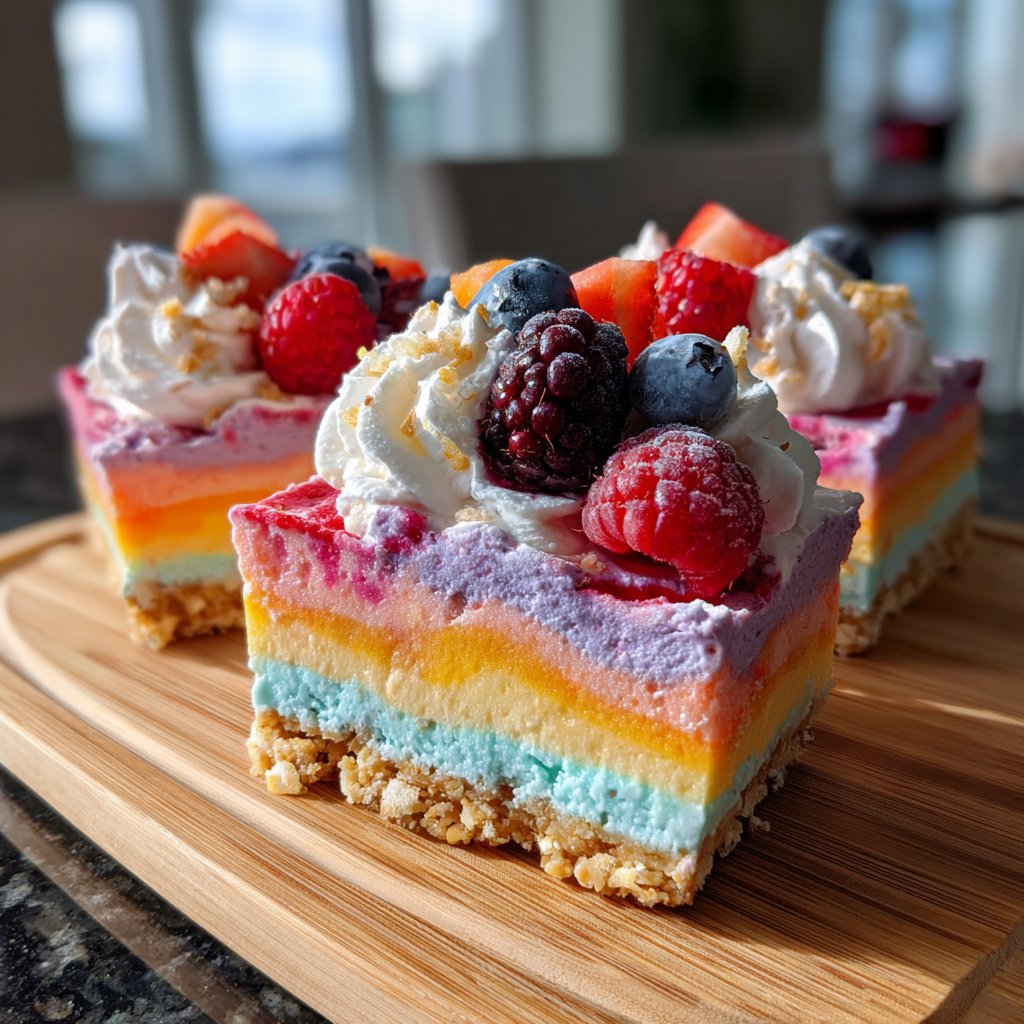
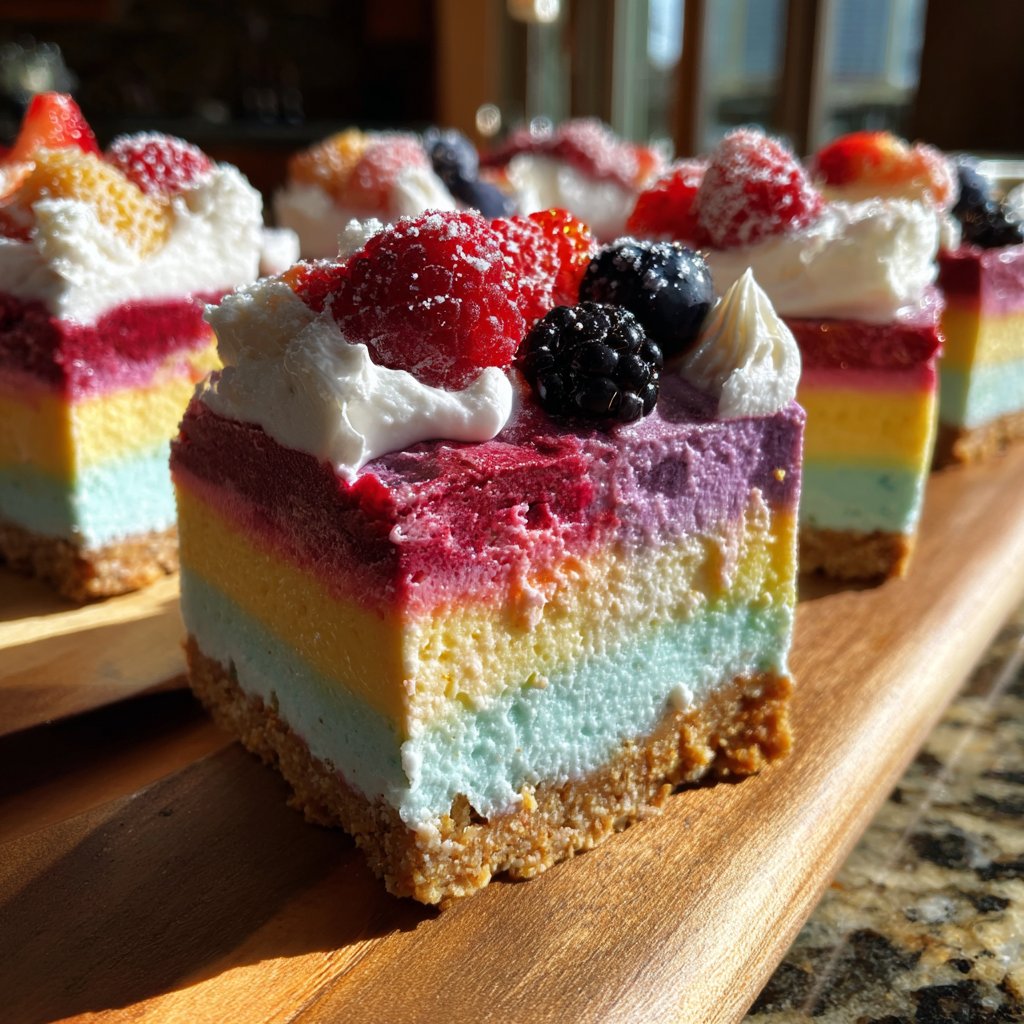
I adore making these No-Bake Rainbow Cheesecake Bars whenever I want to impress my friends and family. The vibrant layers of cream cheese and colorful swirls not only make for a stunning presentation, but they also create a delightful mix of flavors that everyone enjoys. Plus, the fact that there's no baking involved makes this recipe super convenient, especially during warmer months. Just whip up the layers, let them chill, and you have a showstopper dessert that’s sure to wow any crowd.
When I first created these No-Bake Rainbow Cheesecake Bars, I wanted to combine my love for rich flavors and eye-catching desserts. Each layer is infused with natural colors using pureed fruits, which not only adds a pop of color but also enhances the freshness of each bite. I learned that letting each layer cool slightly before adding the next ensures a beautiful, defined separation of colors.
One specific tip I discovered is to use gel food coloring sparingly; you can achieve vibrant colors using just a small amount. The consistency of the cheesecake filling also plays a crucial role—make sure it’s thick enough to hold the layers while still being creamy. The combination of these elements makes each bar a delightful treat that you'll want to make again and again!
Why You'll Love this Recipe
- Vibrant layers that are as tasty as they are beautiful
- Creamy texture that’s not overly sweet
- Quick to assemble, making it perfect for last-minute gatherings
The Role of Cream Cheese
Cream cheese is the star ingredient in these No-Bake Rainbow Cheesecake Bars, providing that signature rich and creamy texture. Make sure to use full-fat cream cheese for the best flavor and consistency. When beating the cream cheese, aim for a smooth and lump-free mixture; this ensures that when you fold in the whipped cream, you achieve a beautifully airy filling. If your cream cheese is too cold, it may end up clumpy, so giving it time to soften at room temperature is crucial.
Sweetening the cream cheese mixture with powdered sugar, instead of granulated sugar, helps it dissolve more easily and prevents a grainy texture. This results in a silky-smooth cheesecake filling that pairs perfectly with the lightness of the whipped cream. If you prefer a different sweetness level, feel free to adjust the powdered sugar to taste, but don't go overboard, as the vibrant colors and layers are the stars here.
Mastering the Color Layering Technique
Layering the colors in the cheesecake filling is where the magic happens! After coloring the fillings, make sure to spread each layer evenly to ensure a neat and stunning presentation. Use a spatula to gently smooth out each layer before adding the next one. For a fun visual effect, try swirling the colors together slightly with the spatula. This technique not only enhances the aesthetic but also allows for a delightful blend of flavors as you enjoy each bite.
If you’d like to take your layering to the next level, consider using a piping bag to add the cheesecake mixtures. This allows for greater precision when layering and can create beautiful designs. To ensure the layers hold their shape, chill each layer for about 15-20 minutes before adding the next one if you’re looking for more defined layers. This extra chilling step can create a more dramatic contrast between the colors.
Cutting and Storing Tips
When it comes time to cut your cheesecake bars, using a sharp knife dipped in warm water will help achieve clean cuts without disrupting the layers. Wipe the knife with a paper towel after each cut to maintain the look of those colorful layers. This attention to detail will impress your guests and ensure every piece is as visually pleasing as it is delicious.
To store the No-Bake Rainbow Cheesecake Bars, cover them tightly with plastic wrap or transfer them to an airtight container. They can last in the refrigerator for up to one week, making them a great make-ahead dessert for gatherings. If you want to prepare them further in advance, you can freeze these bars. Just make sure to wrap them individually in plastic wrap and then place them in a freezer-safe container; they can be frozen for up to three months. Thaw them overnight in the refrigerator before serving.
Ingredients
Gather everything you need before you begin!
For the Crust
- 1 ½ cups graham cracker crumbs
- ½ cup unsalted butter, melted
- ¼ cup granulated sugar
For the Cheesecake Filling
- 16 oz cream cheese, softened
- 1 cup powdered sugar
- 1 teaspoon vanilla extract
- 1 cup heavy whipping cream
- Food coloring (red, blue, green, yellow, orange)
Additional Ingredients
These ingredients will help you decorate!
Instructions
Follow these simple steps to create your cheesecake bars!
Prepare the Crust
In a mixing bowl, combine graham cracker crumbs, melted butter, and sugar. Press the mixture evenly into the bottom of a 9x9 inch baking dish. Refrigerate while you prepare the filling.
Make the Cheesecake Filling
In a large bowl, beat the softened cream cheese until smooth. Gradually mix in the powdered sugar and vanilla extract. In a separate bowl, whip the heavy cream until stiff peaks form and fold it into the cream cheese mixture.
Color the Mixture
Divide the cheesecake filling into five separate bowls. Add a different food coloring to each bowl and mix until you achieve your desired colors.
Layer the Cheesecake
Starting with one color, spread a layer of the cheesecake mixture over the crust. Repeat with the remaining colors, layering them one on top of the other. Use a spatula to smooth the top.
Chill
Cover the baking dish with plastic wrap and refrigerate for at least 4 hours or until firm.
Serve
Once firm, cut the cheesecake into bars and serve chilled. Enjoy the colorful layers!
Enjoy Your Bars!
Pro Tips
- For an extra touch, consider topping the bars with whipped cream or fresh fruit before serving.
Ingredient Variations
If you need a gluten-free version of these cheesecake bars, you can easily substitute the graham cracker crumbs with gluten-free alternatives like almond flour or crushed gluten-free cookies. Just ensure any additional ingredients are certified gluten-free as well. Keep in mind that the flavor and texture will slightly change, but the vibrant beauty of the layers will still shine through.
For a vegan option, replace the cream cheese with a vegan cream cheese alternative and use coconut cream instead of heavy whipping cream. Be mindful of the setting; while traditional cream cheese does set well, some vegan cheeses may require additional stabilizers like agar-agar or cornstarch.
Serving Suggestions
These No-Bake Rainbow Cheesecake Bars are delightful on their own, but you can elevate them further with some garnishes. Consider adding fresh berries on top, such as strawberries or blueberries, to enhance the visual appeal and provide a fresh contrast to the creamy texture. A drizzle of fruit sauce or chocolate ganache can also add an extra layer of flavor.
For a fun twist, serve these bars on a platter with a variety of dipping toppings, like crushed nuts or shredded coconut. Guests can personalize their servings, turning this dessert into an even more interactive and enjoyable experience.
Questions About Recipes
→ Can I use store-bought crust instead of making my own?
Absolutely! A pre-made graham cracker crust will save time and work just as well.
→ How long do these bars last in the fridge?
They will last up to 5 days in the refrigerator, stored in an airtight container.
→ Can I make these bars in advance?
Yes! These bars can be made up to 2 days ahead of time and refrigerated until you're ready to serve.
→ What can I use instead of cream cheese?
You can use mascarpone cheese for a different flavor, but the texture may be slightly different.
No-Bake Rainbow Cheesecake Bars
Created by: The Chefzachfoods Team
Recipe Type: No Cook | Raw & Fresh
Skill Level: Easy
Final Quantity: 12 bars
What You'll Need
For the Crust
- 1 ½ cups graham cracker crumbs
- ½ cup unsalted butter, melted
- ¼ cup granulated sugar
For the Cheesecake Filling
- 16 oz cream cheese, softened
- 1 cup powdered sugar
- 1 teaspoon vanilla extract
- 1 cup heavy whipping cream
- Food coloring (red, blue, green, yellow, orange)
How-To Steps
In a mixing bowl, combine graham cracker crumbs, melted butter, and sugar. Press the mixture evenly into the bottom of a 9x9 inch baking dish. Refrigerate while you prepare the filling.
In a large bowl, beat the softened cream cheese until smooth. Gradually mix in the powdered sugar and vanilla extract. In a separate bowl, whip the heavy cream until stiff peaks form and fold it into the cream cheese mixture.
Divide the cheesecake filling into five separate bowls. Add a different food coloring to each bowl and mix until you achieve your desired colors.
Starting with one color, spread a layer of the cheesecake mixture over the crust. Repeat with the remaining colors, layering them one on top of the other. Use a spatula to smooth the top.
Cover the baking dish with plastic wrap and refrigerate for at least 4 hours or until firm.
Once firm, cut the cheesecake into bars and serve chilled. Enjoy the colorful layers!
Extra Tips
- For an extra touch, consider topping the bars with whipped cream or fresh fruit before serving.
Nutritional Breakdown (Per Serving)
- Calories: 240 kcal
- Total Fat: 16g
- Saturated Fat: 10g
- Cholesterol: 70mg
- Sodium: 150mg
- Total Carbohydrates: 22g
- Dietary Fiber: 1g
- Sugars: 15g
- Protein: 3g